Friday 27 September 2013

Easy To Impress Dessert Recipe: Sago Pudding with Coconut Milk & Palm Sugar (Gula Melaka)

"Dessert is the best time of the day."


I can't agree more. :)


The other night, I made teriyaki chicken for the guys and after that, fly them off to dessert heaven with this sago pudding recipe! Well, it was my first time making teriyaki AND sago pudding...so it was more like an experiment with the guinea pigs. Lol. The outcome of the experiment? Guinea pigs were a happy bunch. :P

Anyways, back to this recipe, I have to stress to you how super easy it is! If I knew it was this easy to make, I would bring it to all potluck parties I have been invited to! Serious! It's soooo easy to make and it's really difficult to fail this one. >_< Coconut milk and Palm Sugar is perfect match in dessert heaven. :) If you are a fan of Asian desserts especially Malaysian dessert, you got to try this!!  I found the recipe from the talented Ms I-Hua here in her blog (Link).

So, what's sago pudding by the way? Basically, it's a soft pudding made of sago (which is quite tasteless on it's own), but when combined with rich coconut milk and the oh-so-fragrant palm sugar (in Malaysia, we call it Gula Melaka)...it transforms to become this wonderful dessert so yum and soooo sinful in every bite! >_<


Perfect Ending: The Awesome Sago Pudding

So, here's the step-by-step recipe to make 4 awesome 6-oz ramekin sago pudding:

Ingredients
- Sago/Tapioca Pearls (about 250g or more!) (refer to packaging for cleaning instructions)
- 4 Pandan Leaves/Screwpine leaves (washed and tied into a knot)
- 150g of Gula Melaka/Palm Sugar
- 1 can of Coconut milk
- 1 Egg white


This is how Sago/Tapioca Pearls look like, if you don't already know. I used about 250g which was just enough for the 4 of us, considered many pearls were lost because some were stuck to the pot and the sieve!!  >_<  So, trust me, make more than 250g!! Lol.


The key to success in this recipe is definitely Palm Sugar! Very important to get only DARK palm sugar because it makes all the difference! This is the bestest palm sugar I've tasted so far. Very close to those you find in Penang/Malacca. Serious! By the way, let's all droool at that bowl of Ice Kacang on the package for awhile. Slurp!  


Anyways, back to the recipe! It can't get any easier that this!


Step 1: Add water into a large pot and bring to boil. Add in the pandan leaves. When the aroma of pandan leaves start filling your kitchen, that's the best time to throw in the sago pearls. Keep stirring until the pearls float to the top and turn translucent.


Step 2: Drain the water and remove the pandan leaves. Wash the cooked sago with cold running tap water thoroughly to remove any excess starch.


Behold my beautiful pearls....with some stuck in between the sieve!! >_<

Step 3: This is a very interesting step I learned from Ms I-Hua. Beat an egg white until soft peak and fold it into the sago pearls. Egg whites help to keep the sago separated so when you eat the pudding, you can taste every pearl in your mouth. Do not skip this step! >_<


Step 4: Grease the ramekin with some vegetable oil before filling them with the sago pearls. Cover with cling wrap and refrigerate for 1-2 hours.


Step 5: In a small pot, melt palm sugar with a bit of water in low heat. Keep stirring and be careful not to burn it! This will take just a few minutes.

Step 6: In another small pot, heat the coconut milk just until it simmers. Do not overcook the coconut milk!

Step 7: Assembly time! Gently remove the sago pudding onto a serving plate/bowl. Fill it with some warm coconut milk and then slowly drizzle the warm palm sugar on top! Ooooo...reminds me of the chocolate lava in my previous recipe but only this time, it's palm sugar! >_<


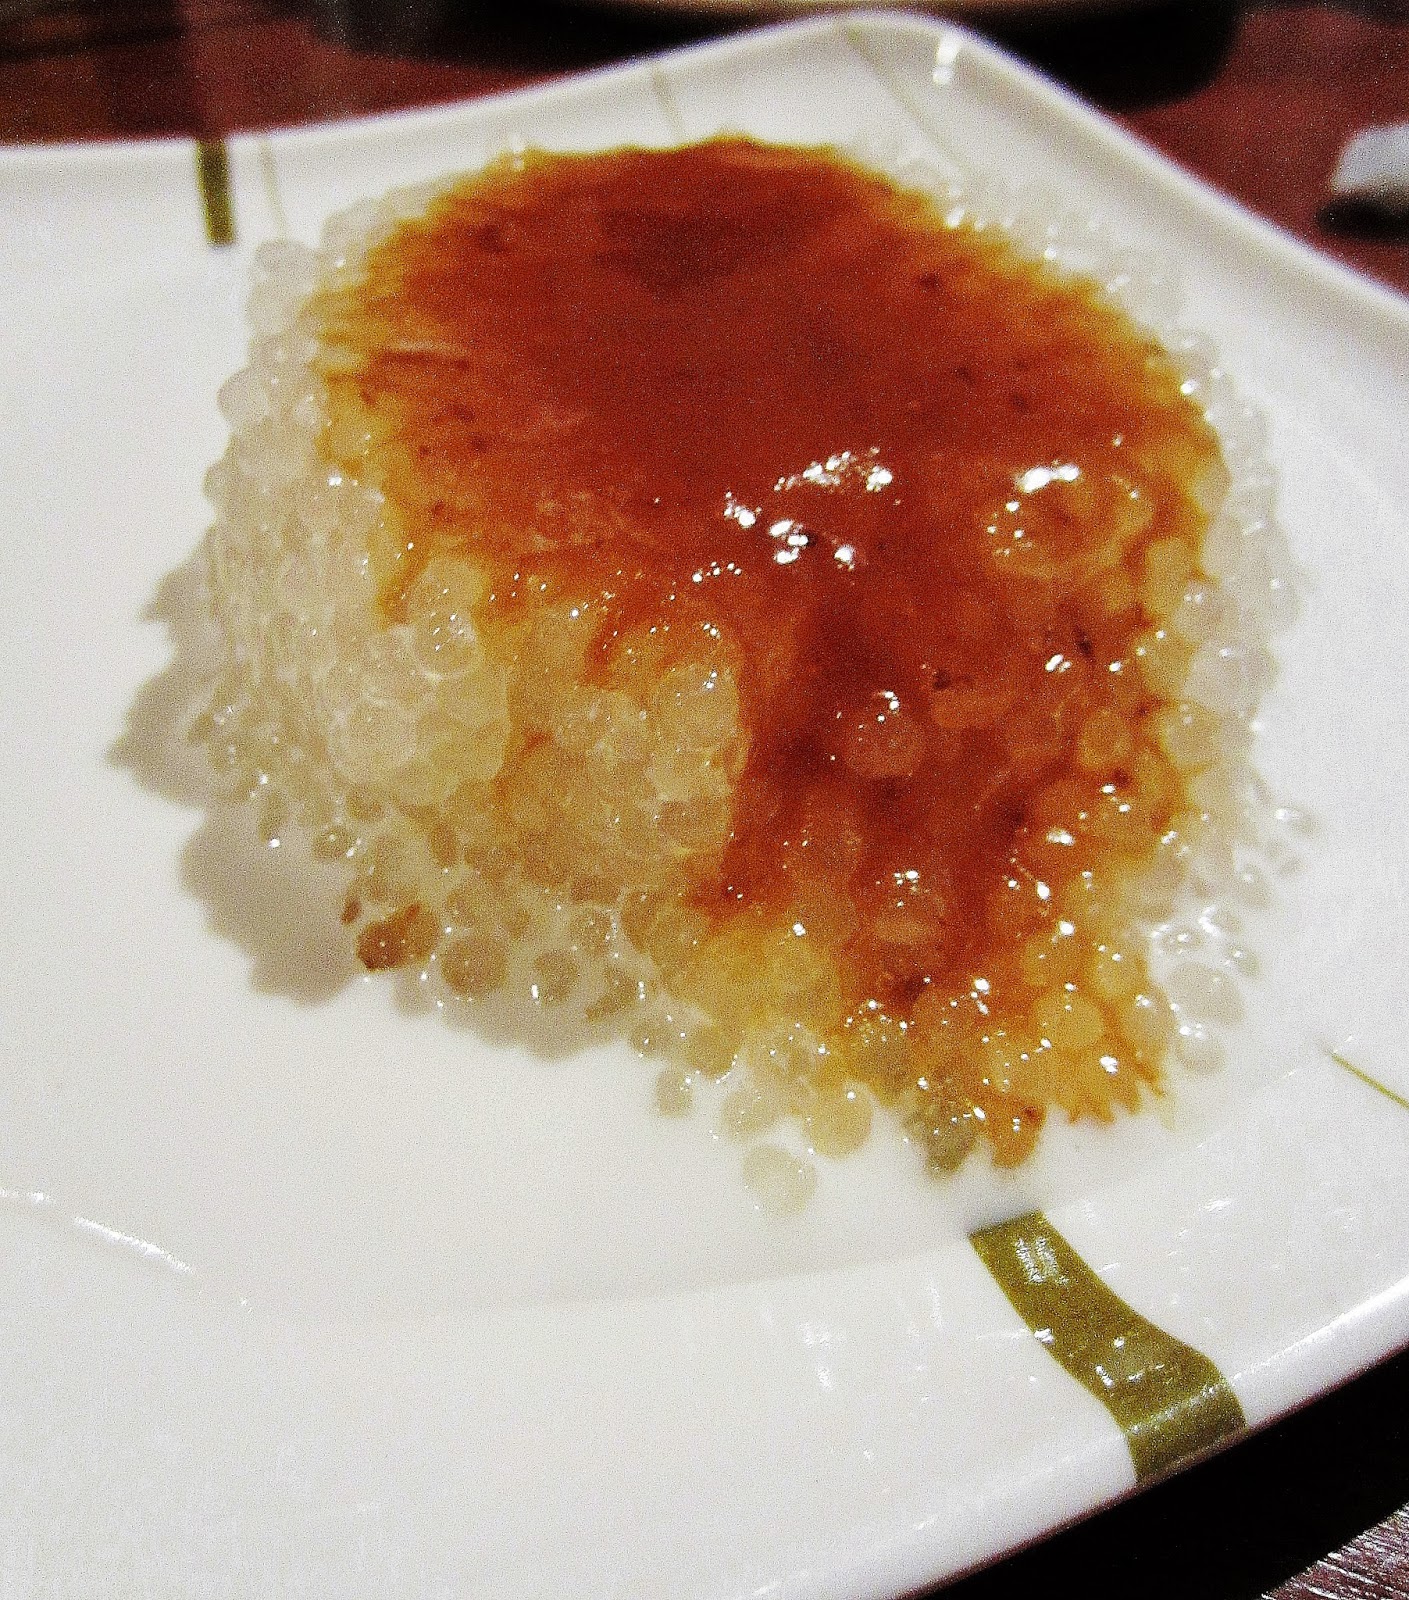
Let's droool~ or you can make some for dessert tonight! Hehe..

And, that's it! There you go, another superrr easy dessert recipe to impress your loved ones!

This recipe is definitely a keeper and since I still have sago pearls and pandan leaves in my freezer, I might just make it again very very sooooon! :D


See you at dessert heaven, tata! :)


Wednesday 18 September 2013

I Must Have Breakfast!

Breakfast is the most important meal of the day.

Yea, I bet you came across this sentence in most health articles and hear it like a gazillion times from your parents and health-conscious friends. No? Well, I hear this from my dad all the time! (I miss you dad!)

I remember how dad would wake up earlier in the morning to prepare good breakfast for me before he prepares himself for work. Sometimes American breakfast, sometimes Asian but whatever it was, it was always, always full of effort and lots of love. He would always find ways to make my breakfast look different everyday.

Salad is a staple food in our house. In our fridge, there's always tomatoes, lettuces, cucumbers and the not-so-healthy Thousand Island! >_< Oh, speaking of breakfast, I can't describe to you how excited I get when I stay in hotels, always looking forward to their breakfast spread. Hotels that serve alfalfa sprouts in their salad bar gets extra 2 points from me! Hehehe.

Anyways dad, I want you to know that I've been making effort to wake up and have breakfast everyday now. Be proud of me. :')

Breakfast Day 1 - Cheese kransky, ugly fried egg with freshly sliced tomatoes and lettuce


Breakfast Day 2 - Cheese kransky (only had half left *cry*), bits of ham, the PERFECT sunshine eggs *beams* and of course, some freshly sliced tomatoes and fresh lettuce. Same same but different. Hehe.


Breakfast Day 3: Tuna Croissant (toasted!) with freshly sliced tomatoes and cucumber for a change ;) And breakfast is not complete without Milo in my magic cup. Weee~


So, there you go, I had breakfast on the other days too but errr...let's just say they are not too photogenic! >_<


Will put in more effort to make beautiful breakfast in the near future. Promise.


Love you Dad. This post is for you. <3


Monday 16 September 2013

Easy to Impress Dessert Recipe - Chocolate Lava Cake

It all started from some fresh strawberries in the fridge - so juicy and sweet! And I just wish there was a chocolate fountain nearby. >_<


A trail of thoughts followed and then I suddenly crave for that awesome dessert from Chili's - Molten Chocolate Cake! The warm chocolate lava when eaten together with cold vanilla ice cream is just so heavenly. One has to try this dessert at least once in a lifetime!


Source: Chilli's Malaysia Official Facebook Fan Page

Chocolate Lava Cake or Molten Chocolate Cake is served warm so that when it is cut in the middle, the warm chocolate oozes out. Combine the warm chocolate lava with some creamy vanilla ice-cream and fresh strawberries, it will sure send you to dessert heaven. :)

You have to try this recipe out, from my favourite food blog, Noobcook - Chocolate Lava Cake Recipe. It's super easy and sure to impress your guests! What I love about this dessert is that it is superrr easy (Super easy. Did I just say super easy again? Yea, I just want to get that into your head! lol) and it can be prepared earlier in the day. Just pop it into the oven for some sweet ending after a good dinner. Perfect and definitely, failproof! You absolutely cannot go wrong with chocolate, strawberries and ice cream! :P

So, here's the step-by-step recipe to make 3 awesome 6-oz ramekin chocolate lava cakes:

Ingredients
- 100g dark chocolate (at least 70% cocoa), cut to small cubes
- 100g unsalted butter, cut to small cubes
- 2 eggs
- 50g caster sugar
- 20g self-raising flour
- fresh strawberries
- vanilla ice cream

Opps, I forgot to include those fresh juicy strawberries in the photo above! >_<

Step 1: Melt chocolate and butter using a double boiler. What I did was I placed a small pot over a larger pot of hot simmering water and keep stirring until it combines to become this rich, glossy chocolate sauce. It's already looking yummm at this point, but thou shalt not fall into temptation! >_<


Step 2: Using a electric mixer, beat eggs and sugar until it becomes white and frothy. I set the mixer to medium speed and took me quite awhile to get this result. So be patient! >_<


Step 3: Pour the chocolate mixture into the egg mixture. Slowly fold in the self-raising flour and combine well using a spatula. Set aside.

Step 4: Grease the ramekins with some butter. Optional: I added some caster sugar so that my cake has a bit of crisp on the outside.


Step 5: Fill the ramekin to 3/4 full with the chocolate mixture and bake in a preheated oven of 180C for at least 10mins (refer Note below). Optional: I baked it bain-marie style to prevent the top from cracking. This is how mine looks after baking for 10mins.


Note: The timing very much depends on the temperature of your mixture and your oven. But you can start with 10mins, and then take it out and check before deciding to bake it more or not. Because it's cold where I live in now, so I suspect the chocolate mixture was too cold to start with. So, my first ramekin took me about 15mins and it was under-baked (means less cake and lots of chocolate lava. No complain though! Haha). The second night, after I took the ramekins out from the fridge, I decided to put it in the microwave for 30sec until the mixture is runny again. Pop it into the oven for about 11mins and it came out perfect! So yea, it's all about trial and error, so experiment!


Step 6: Using a serving plate face down, put on top of the ramekin, turn it over and your lava cake will slide out perfectly on the plate. Add your strawberries and some vanilla ice cream on the side before serving.

As you can see, I had more chocolate lava than cake! Lol. But still sooooo yum. :P


And there you go, the perfect, easiest dessert to impress your loved ones! :)

See you at dessert heaven! :)

Monday 9 September 2013

I am in Dreamland!

So here I am, in Aussieland, where dreams come true!! 
.
.
.
Alright, truth is, here I am, in Aussieland, dressed in my pjs, eating a banana as a type while listening to Alicia Key's Empire State of Mind. Lol. I really need this song to give me a boost and inspire me to do some serious work in the next couple of days!

So much has happened in the past one year, I just seriously needed a break. So this is it. My dream came true. I quit my job, found myself in a new environment, I have all the time in my life and I can do whatever I want to do.

So what do I really want to do?

I need this checklist to keep me focused. Top 10 things I must do for myself:

(1) Start an online business
(2) Make something special for a new friend :)
(3) Volunteer in a charity work
(4) Join yoga
(5) Bake a cake
(6) Make my own bread!
(7) Make my own ice cream! Woo!
(8) Make new friends
(9) Learn a new skill
(10) Last but not the least, keep this blog alive! Hehe.

I guess that's enough for now, I really need to stop dreaming and get started.

Be right back. :)